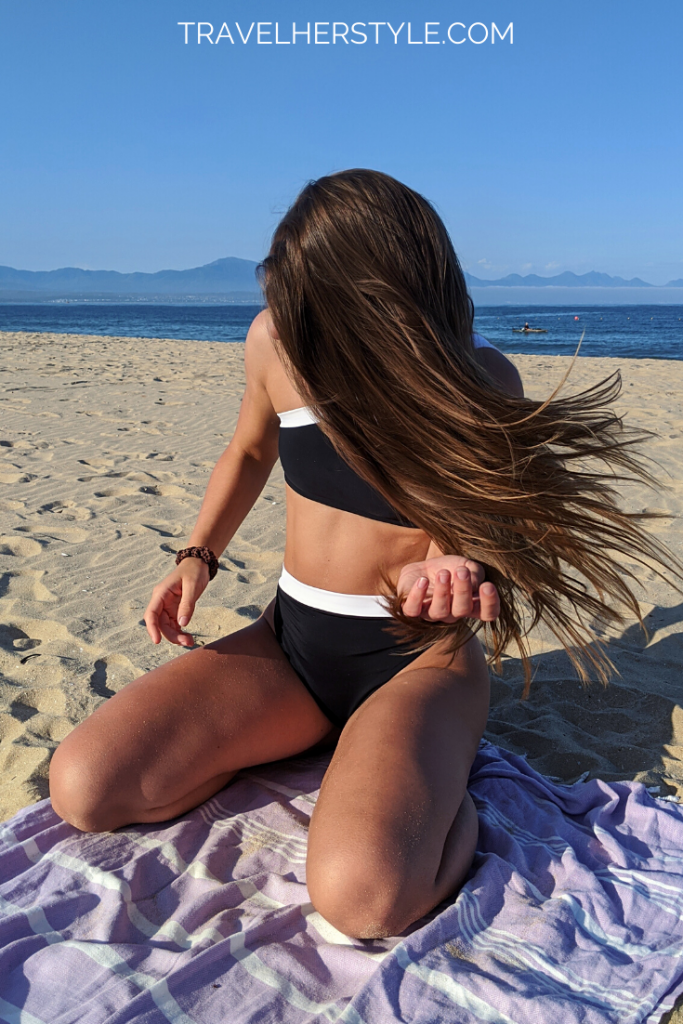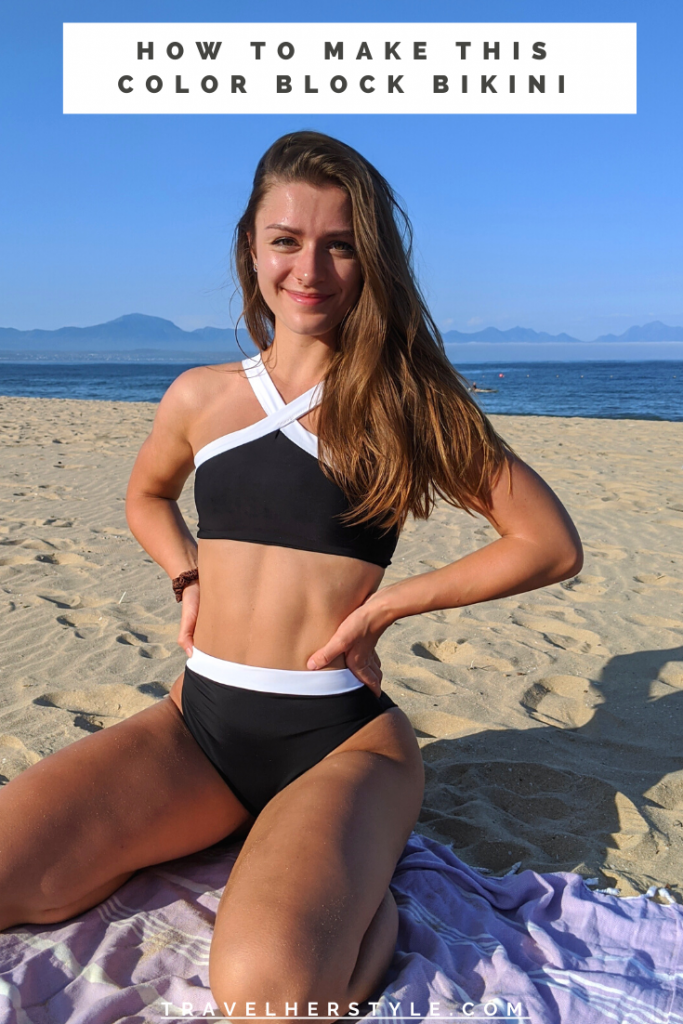
This week I’m going to be showing you how to make an original design of my own! As you can see, it’s a color block bikini.
Since this is an original design, it took me a bit of time to figure out how to make it. But now that I have, I know it’s actually a pretty easy sewing project that’s definitely beginner-friendly.
Another aspect I especially love about this swimsuit is that I used Repreve recycled fabric to make it! What makes Repreve fabric so great is that it’s made from pre- and post-consumer plastic bottles that would otherwise be ocean-bound.
But instead, they’re turned into fabric!
Now, let’s get started with this diy color block bikini top.
Materials Needed:
Just so you know, I’ve linked most of the materials below so you know where to find them. I’m not an affiliate for any stores mentioned; these are just the products I generally use.
- Fabric – You’ll need both lining fabric and two different colors of swimwear fabric. I got about a yard of each (except the white fabric, I only got half a yard of that) to use for both the top and the bottoms and that was more than enough. Here’s where I normally get my fabric:
- These fabrics are Repreve recycled fabrics from fabric.com.
- I also often get swimwear fabric and lining from The Fabric Fairy.
- Matching thread – I like to use 100% polyester thread for swimwear since it’s so durable and won’t break down in the water.
- Sewing machine, of course! If you’re in need of a sewing machine, here are my favorite affordable options.
Total Cost of this color block bikini:
Just to be completely transparent with you, I like to share how much I spent on each of my designs. Here’s what this one added up to:
Black Repreve fabric: $12.48
White Repreve fabric: $6.24
100% polyester thread from Hobby Lobby: $1.99
Lining fabric from Joann Fabrics: $5.99
Now that you know what you need, here's my tutorial for this color block bikini:
Step-by-step instructions:
Here are general instructions for how to make your own color block bikini.
1) First, you’ll need to cut 5 to 6 pieces of fabric:
- Either one long strip of fabric to go around the top and use for the straps that’s approximately 3″ wide and 60″ long (mine was 56″ long in all, but you’ll want to measure yourself and see what the best length is). If your fabric isn’t long enough, you can do two strips of fabric around 30″ in length and sew them together in the middle.
- You’ll also need two front pieces cut in the shape of a rectangle with a triangular top and two rectangular pieces for the back. As you can see in the video, I just used an old bandeau top to use as a sort of pattern, since this is an original design (and I never use patterns anyway). If you have something like that as well or even just a stretchy, tight fitting tank top, you can use that to figure out the width and eyeball the rest.
2) If you cut two strips of fabric for the straps, sew it together at this point.
3) Put your two front pieces right sides together and sew the sides with a 5/8″ seam allowance. Do the same thing for the lining fabric, BUT leave a 1″ opening in one side of the lining fabric. This will be important later on!
4) Line up the middle of your long strip of fabric with the middle of the back of the top (right sides together). Pin them together until the long strip of fabric reaches the front point of the triangle on each side. Then, go ahead and sew them together with a 5/8″ seam allowance.
5) Repeat the same step with your lining fabric: Attach the middle of the long strip of fabric to the middle of the lining and pin all the way around. Then, sew with a 5/8″ seam allowance.
6) Next, pin the edges of your strips of fabric together while your top is still flipped inside out. Sew with a 1/2″ seam allowance on both sides.
7) With your top flipped inside out, pin together the two seams you just sewed so that the long strip of fabric is folded in half. Sew those seams together to keep the top strap from sliding around while you wear it. Watch the video to see more clearly what I mean.
8) Now we’re going to make use of the 1″ opening we left in the lining fabric earlier. From the right side of the lining, stick your fingers through the opening, grab onto the bottom edges of the top and pull them through that hole. Then, pin them right sides together and start sewing with a 5/8″ seam allowance. You’ll have to keep pulling the fabric through as you go.
Once you’re done though, it’ll be worth it because that makes it look nice and clean with a seamless bottom edge!
9) Lastly, you can either leave the straps as they are and tie them around your neck or you can sew them in place in the back.
And that's it!
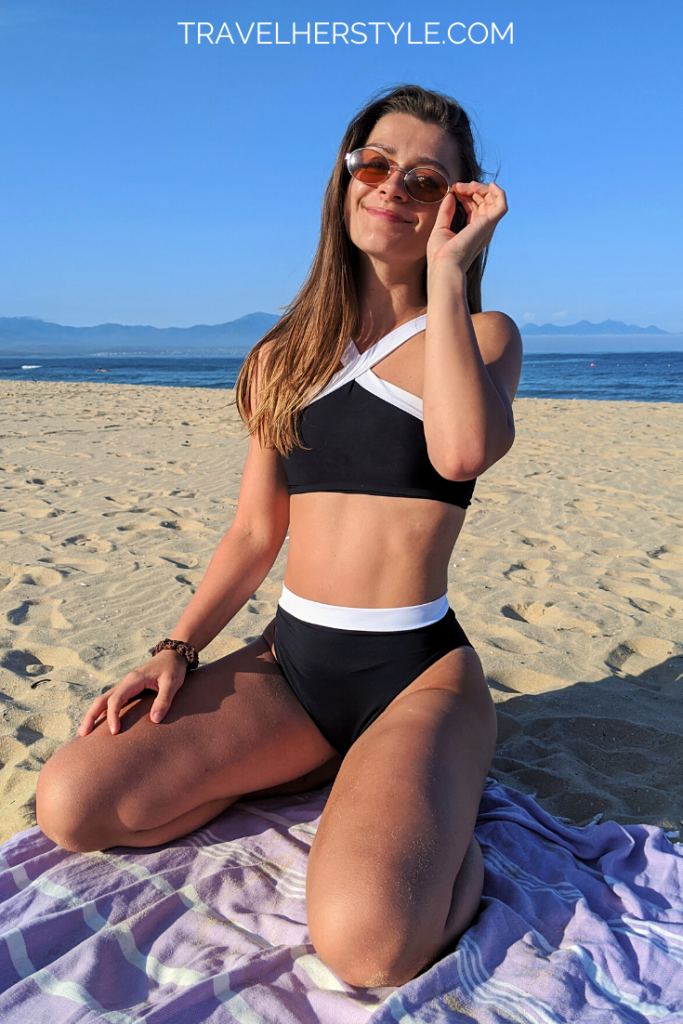
I hope this tutorial was helpful and that you try it out! The great thing about this swimsuit is that no one else will have it and it’s really one-of-a-kind since it’s my own design.
All in all, this probably only took me about 5 hours to make. So it’s a nice day project to do and then you’ll have a fun new swimsuit for the summer!
Please let me know if you do make this and let me know how it went. And be sure to tag me and use the hashtag #travelherstyle! I’d love to share the final look.
Also, feel free to comment below or on the YouTube video if you have any questions!
If you’re ready for another fun and easy swimsuit project for the summer, check out this bandeau bikini top. And if you’re into upcycling, I also made a tutorial for this multifunctional upcycled top.
Good luck and have fun!
Love,
Emily