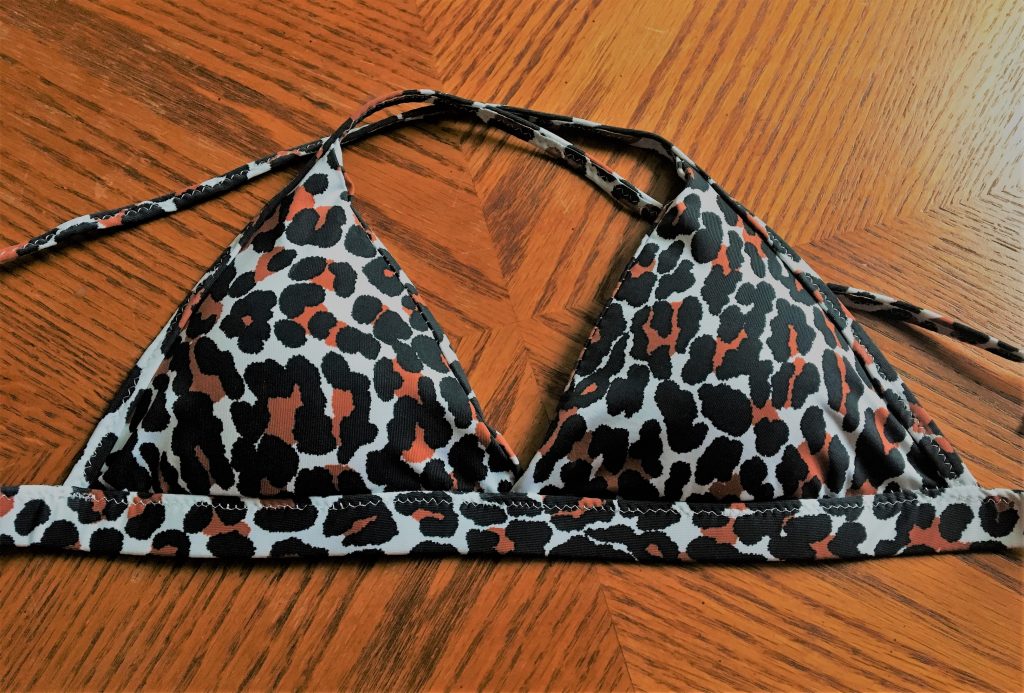
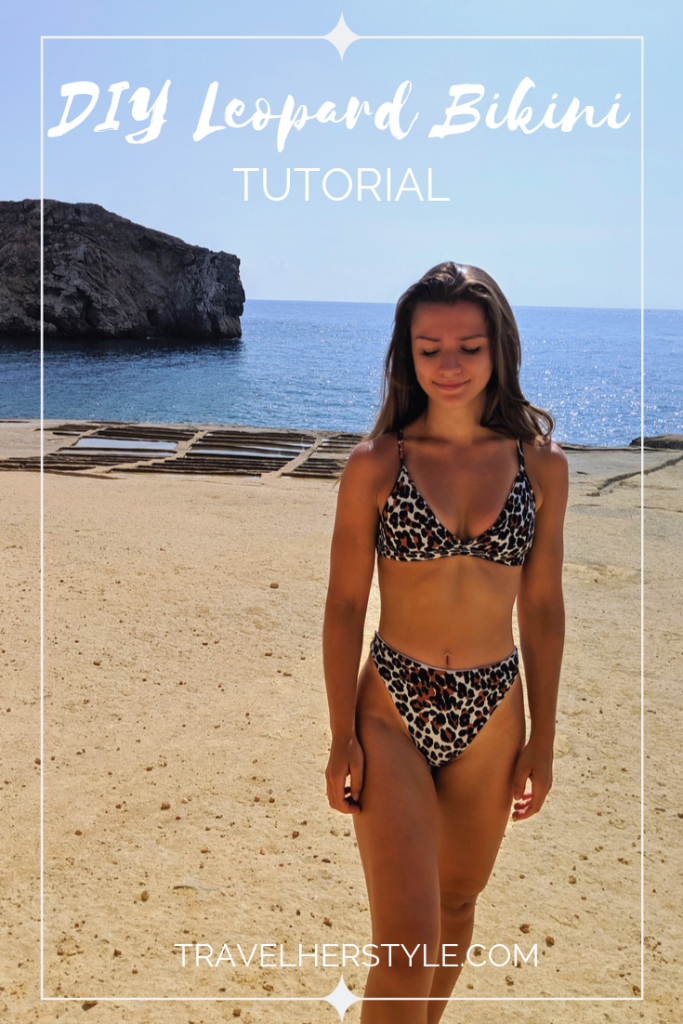
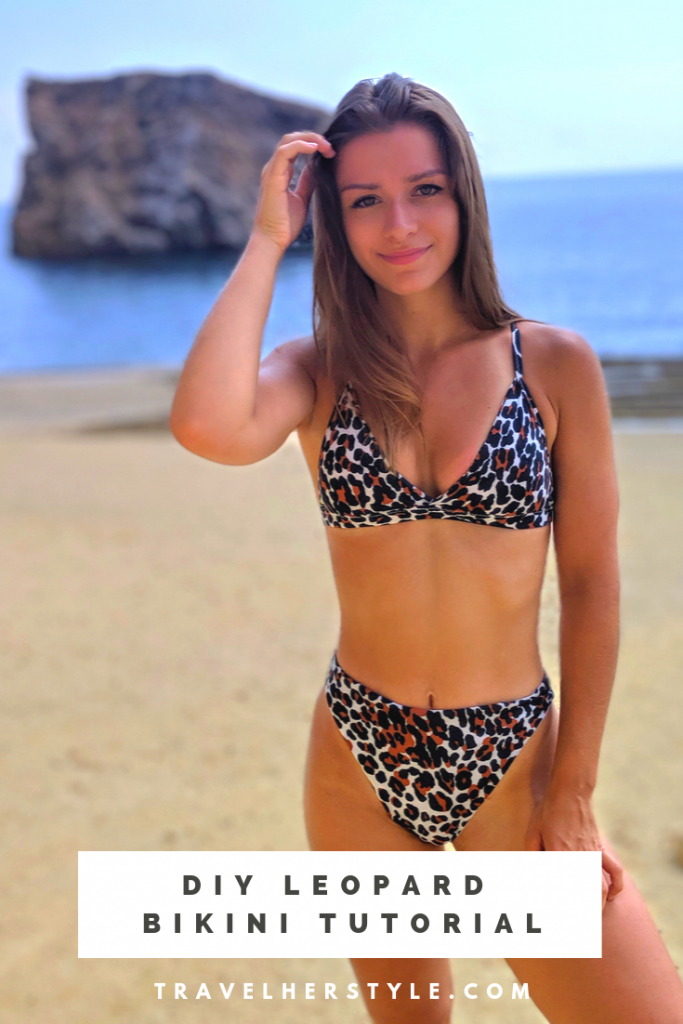
Lately I’ve been seeing some sort of leopard bikini like this one all over the place. So, naturally, I wanted one too!
But I actually wasn’t so sure about whether or not I liked the leopard fabric and also didn’t want to spend all that money (seriously, when did bikinis get so expensive?!) on something that may not even look good on me.
Which is why I decided to just make one myself and see!
Considering that this fabric cost less than $6 at Joann Fabrics, I figured it wouldn’t be too big of an investment.
If you’re interested in making a triangle bikini top like this one, keep reading to find out how! It’s honestly pretty easy to make and should be doable even if you’re a beginner.
Don’t worry if you’re not much of a leopard print fan–you can make this with whatever fabric you like. 😉
Difficulty Level: Easy/Medium
Materials for leopard bikini:
- Swimwear fabric – The best swimwear fabric out there can be found at The Fabric Fairy. That’s no exaggeration and I’m not an affiliate! Just wanted to let you know because it took me a long time to find a good place to find swimwear fabric and they by far have the best quality, lowest prices and biggest selection.
Joann Fabrics also has some good finds every once in a while (like this leopard print I found in the clearance section). - Swimwear lining – Can be found at most fabric stores. I also found this white swimwear lining on sale at Joann’s.
- Matching thread – Best thread for swimwear in my opinion? Some sort of 100% polyester. Others recommend wooly nylon or eloflex thread, but those both tend to get caught in my machine. Any one of them will work though!
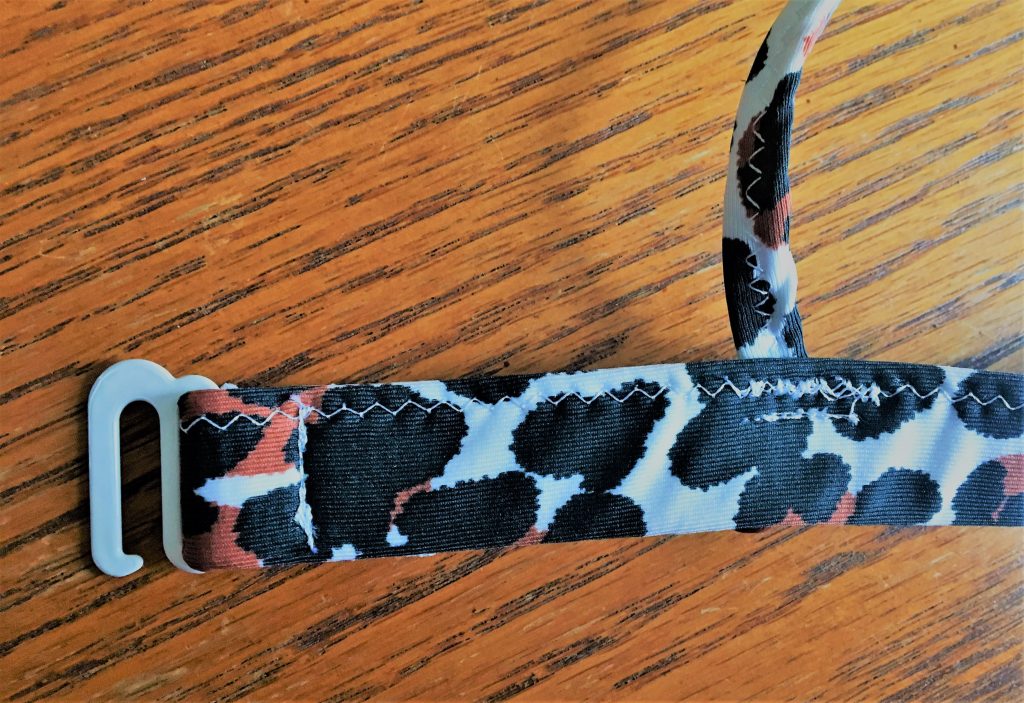
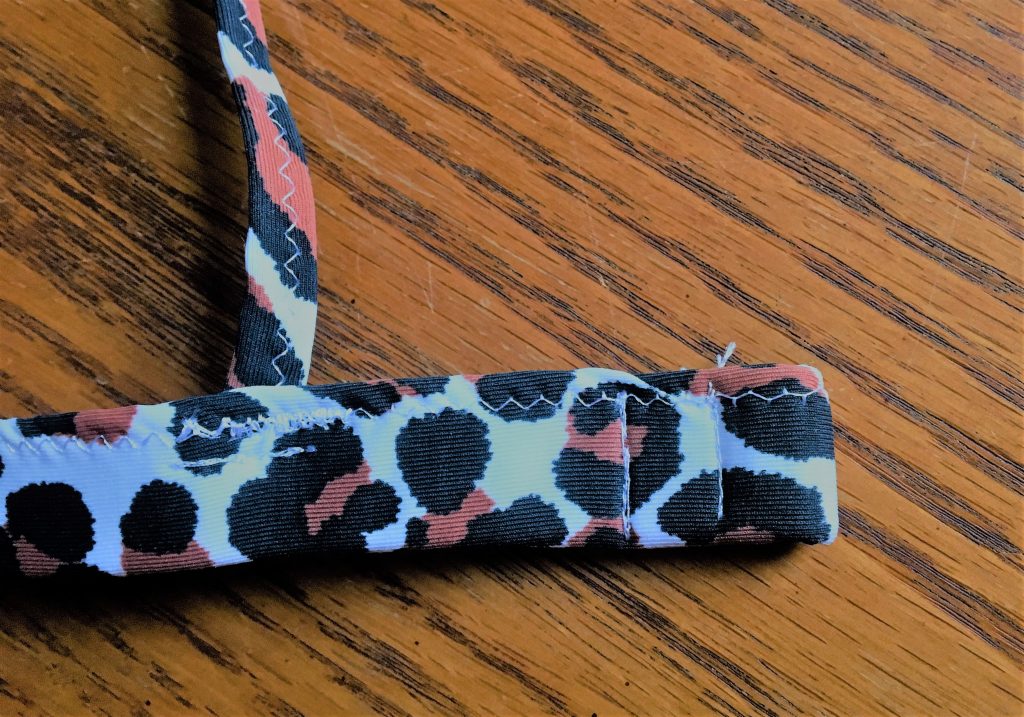
- 1/4″ braided elastic
- Bra hook – I make lots of swimsuits, so this pack of 50 from Amazon is what works best for me.
- Padded inserts (Optional)
Total Cost of this leopard bikini:
Alright, now that I’ve got all of the background info out of the way, let’s make this leopard bikini.
One more thing I want to say: trust me, it’ll be worth making. It really is the greatest feeling when you can blow away your friends and family when you tell them that you MADE the cute bikini you’re wearing. So I hope you try it out!
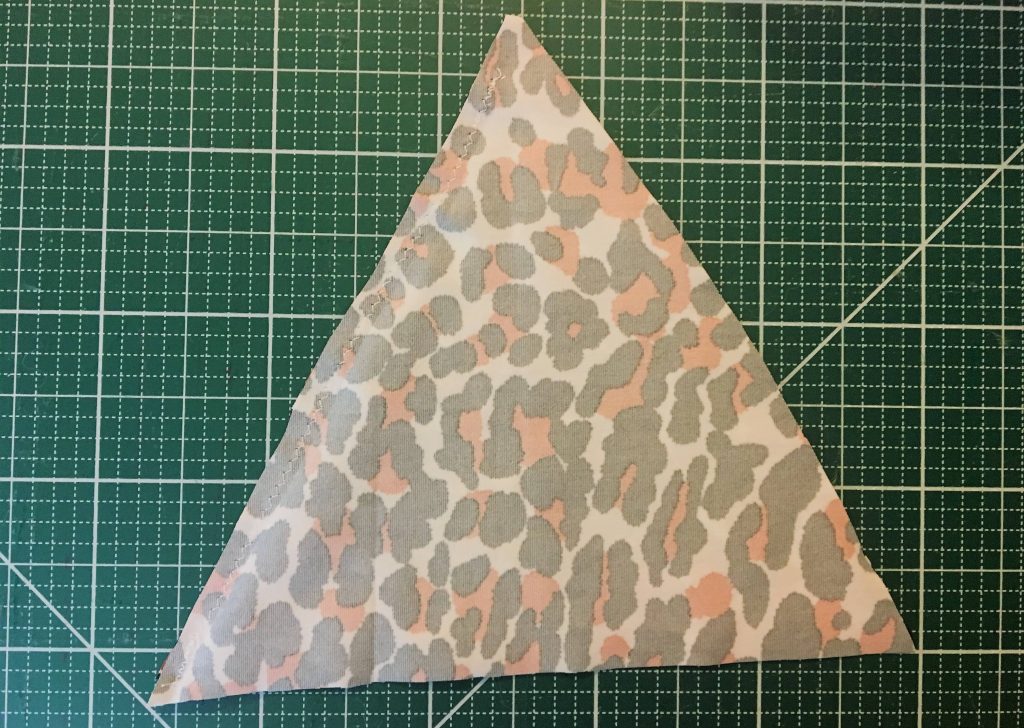
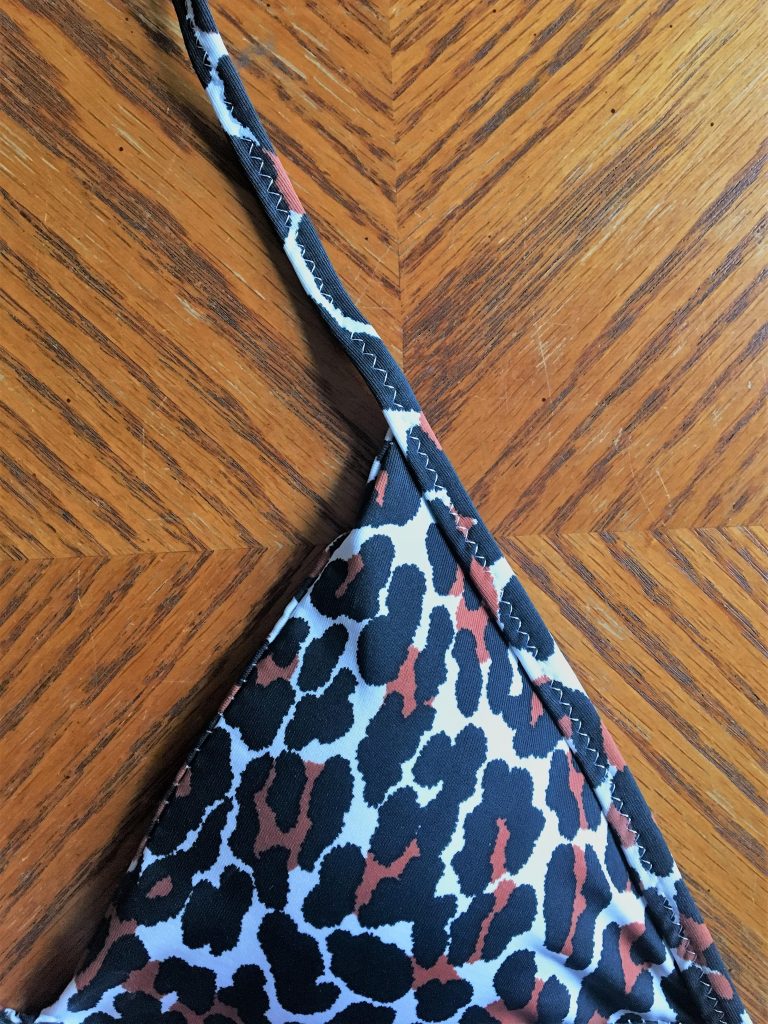
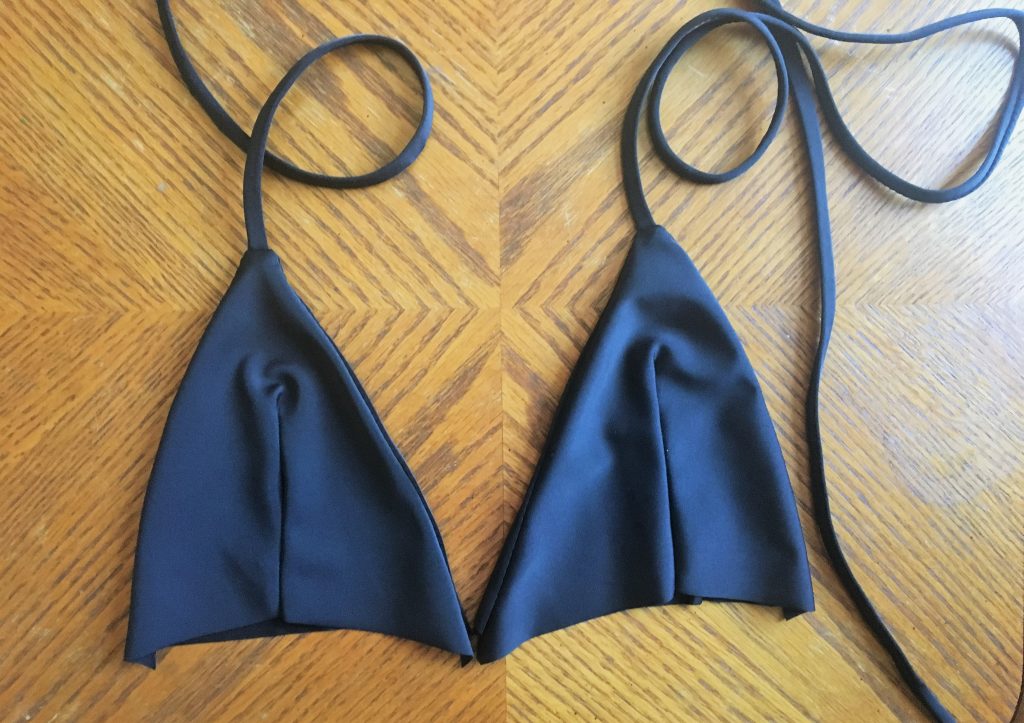
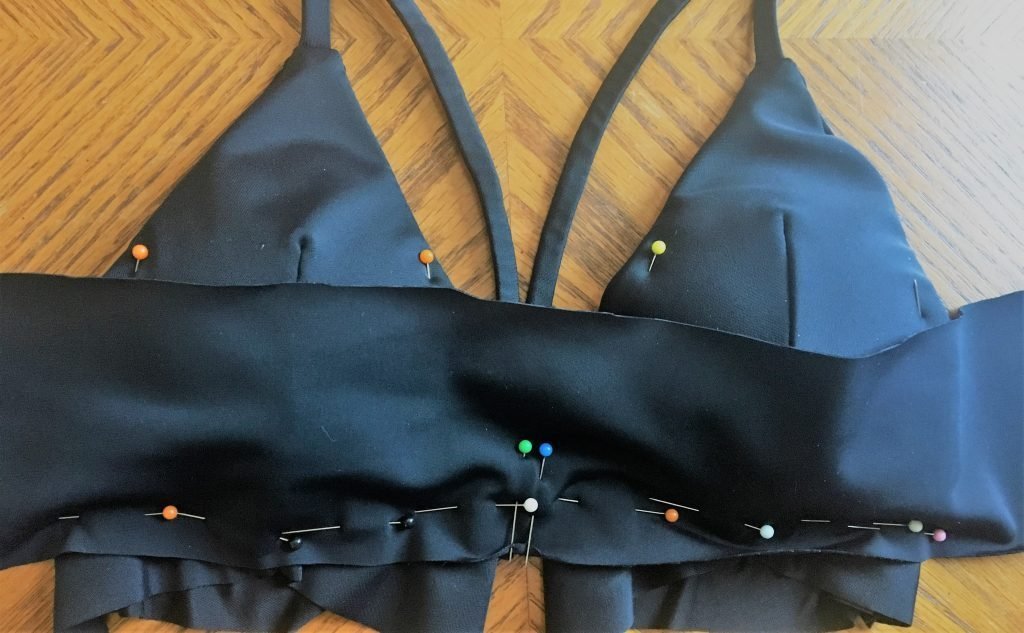
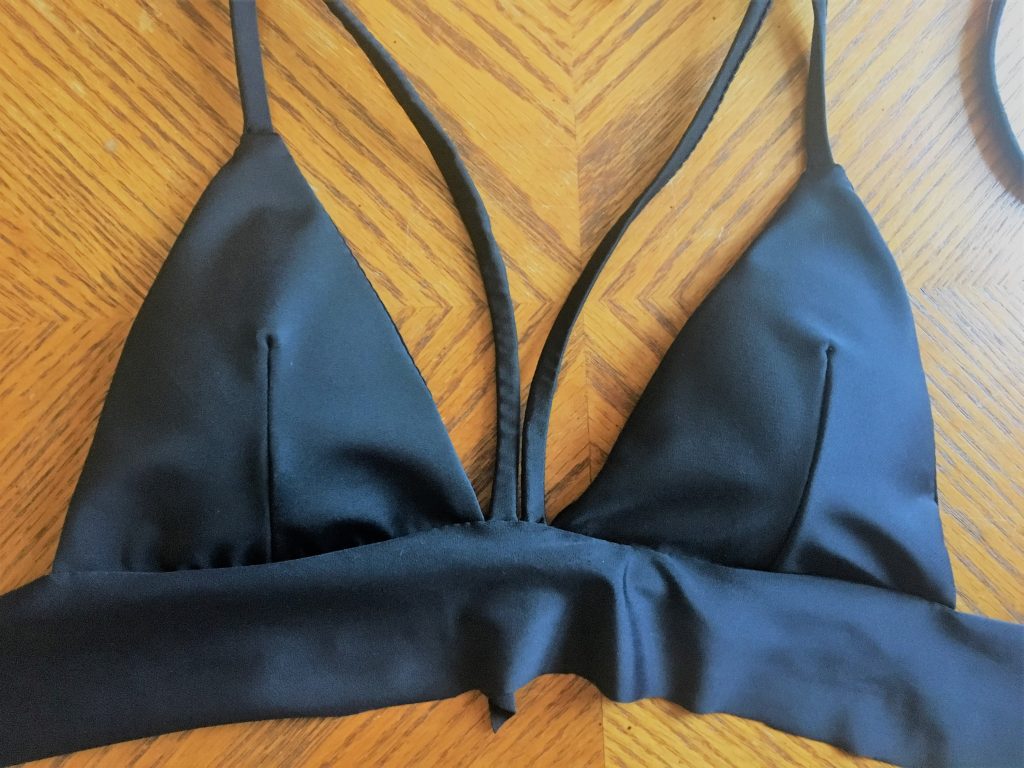
Step 1) Cut your fabric
Here are the pieces of fabric you’ll need to cut:
- For the straps: you’ll need 2 long rectangular pieces (I often use my existing swimsuits or bras to get an ideas of what the length should be). To figure out the width, I generally lay my elastic down on top of the fabric. Then I just make my strip of fabric around 3-4 x the width of the elastic.
- 4 triangle pieces for the actual top (I cut all four out of my leopard fabric, so that the lining wouldn’t stick out at the sides). Don’t worry–you don’t need a pattern to figure out the sizing! Just pull out a bra or swimsuit you have laying around that fits you well and use it as your “pattern.
If you’re planning on adding some padding, make sure to leave enough room at the sides of your triangles for you to sew a pleat.
Unfortunately, I forgot this step when making my top. It isn’t too much of a problem for someone like me who isn’t very top-heavy, but if you’re larger-chested than I am, you won’t want to skip it.
- One long rectangular piece to wrap around your chest. I sometimes like to use a wider elastic, anywhere between 1/2″ to 1″ in width to go under my chest. Then I’ll use the same process as before where I lay it down on my fabric and make the width at least 3 times that of the elastic.
As far as the length goes, you’ll want to measure just below your chest and then add at least 2.” You’ll need the extra length to sew your bra hook later on.
Step 2) Start Sewing your leopard bikini!
The first step when you start sewing is to sew a straight line across ONE SIDE of each of your triangles. You can see above where I sewed mine.
Wondering why you only sew one side? It’s because, when you make this style triangle top, the other side will be sewn at the same time as your strap is sewn on. That’ll be easier to do if one side is left open.
This is how it looks flipped right-side out with one side sewn.
This would also be a good time to sew a pleat into each of your triangles to make room for your padding (if you’re planning on adding some). To do that, simply fold each triangle in half and sew a small triangle about halfway down.
Step 3) Sew your straps
Now to sew your other side closed, you’ll want to pin the fabric for your strap to the triangle top.
As you can see, I more or less lined up the bottom of the strap with the bottom of the triangles. The majority of the strap fabric should be facing in, so that you can wrap it around the elastic that you’ll sew on next.
Then, go ahead and sew the strap fabric onto the open side of your triangles.
Next, sew your elastic right on top of that and sew it onto the entire length of the strap fabric.
If you’re using a regular sewing machine, remember to ALWAYS use a zig zag stitch when sewing swimwear!
Lastly, once your elastic has been sewn in place, you can wrap the extra fabric around it until the elastic is no longer visible. Then, sew all the way across it again.
The picture above shows what your top should look like after this step. This is the point when your project actually starts looking like a swimsuit! Although we’re only about halfway done, that always motivates me to keep going.
Step 4) Insert Padding
If you want to add any padding, this it the time to do it, because in the next step we’ll be sewing the triangles closed by attaching them to the chest piece of fabric. So don’t forget to add it now!
Step 5) Sew Chest piece to triangles
Now that you’re all done with the actual triangle part of the top, it’s time to connect everything with the chest piece.
This step is actually really similar to what we did with the straps. It’s just a little more complicated, since the triangles have to be pinned evenly into place.
But we’ve got this!
First, you’ll want to lay your triangles side-by-side to get an idea of where you want them to end up. I don’t have any photos from this step for my leopard bikini, but did the same thing with the black top below.
So, your “leopard bikini” should look something like this right now:
Except, of course, for the fact that our straps were sewn on to the sides instead of out of the top like they were in the photo above. The next step is entirely the same though!
Keeping right sides together, lay the center of your chest strap across your triangle pieces. At this point, I pin everything in place and make sure that the triangles are even.
It’s not exactly pretty, but here’s how I do it:
Now, sew across the part that you’ve pinned to attach the triangles to your chest piece.
If you’re happy with how everything is lined up and looking, then sew a piece of elastic all the way across the chest piece now. Again, I like to use a wider elastic for that, like a 3/4″ braided elastic.
This is how your bikini top will look after that:
Yay! It’s finally coming together!!
Next, you can wrap the excess fabric underneath so that your elastic is hidden and sew it in place. I like to fold the edge of the fabric underneath as I sew, so that there’s a nice clean edge on the inside of the strap as well.
It’s not necessary to fold the edge under, but it gives it a more professional look in my opinion.
Step 6) Sew your bra hook and opening for the hook
As you can see below, on one side you should attach the bra hook. All you need to do is slide the hook into place, fold over the excess fabric and sew it into place using a straight stitch.
Please ignore my messy sewing in the photos below! My machine is old and temperamental, and for some reason was refusing to back-stitch at this point in my project. That made my sewing lines a little messier than they normally are.
Good thing is, most people don’t notice that sort of thing once you’re wearing your clothes. It’ll only be noticeable to you if something like that happens!
On the other side, simply fold over the end of your chest strap and sew an opening for the hook. I like to make two openings but it’s up to you how many you want to do.
Step 7) Sew your straps in place
The last step is just to sew your straps in place! I like to save this step for last because it’s easier to figure out the sizing once you’ve attached the chest strap and actually tried your top on.
Then, simply put a pin in your strap wherever you want it to be length-wise and sew it to your chest strap.
For this top, I decided to do a criss-crossed back, which you can see in the finished photo below. It ended up looking really cute and I was super happy with it! Feel free to give it a go as well.
One last tip: I like to reinforce my straps by sewing them twice–the second time just below the first line I’ve sewn. If you want to up the durability of your top, I’d recommend doing the same.
Aaand you’re done! That’s all it takes to make your own leopard bikini top.
Here’s how it looks once you’re finished.
All things considered, this top really is fairly simple to create. I mean, it’s only a 7-step project and it took me about 4-5 hours to make from start to finish.
Even if you’re new to swimwear, this top is a fun and easy project that should only take a couple days to complete! So PLEASE try it out and send pictures of your top when you do. 🙂
If you’d like to check out my other designs, click here. I make lots of swimsuits and summer clothes and want to help you create the perfect wardrobe for yourself! Find out easy ways to do so with my upcycling tutorials like this dress or my other easy-to-follow swimsuit tutorials, like this one.
Also, a tutorial for the bottoms will be coming soon, so I’ll link that here as soon as it goes live!
Good luck making your leopard bikini and see you next time!