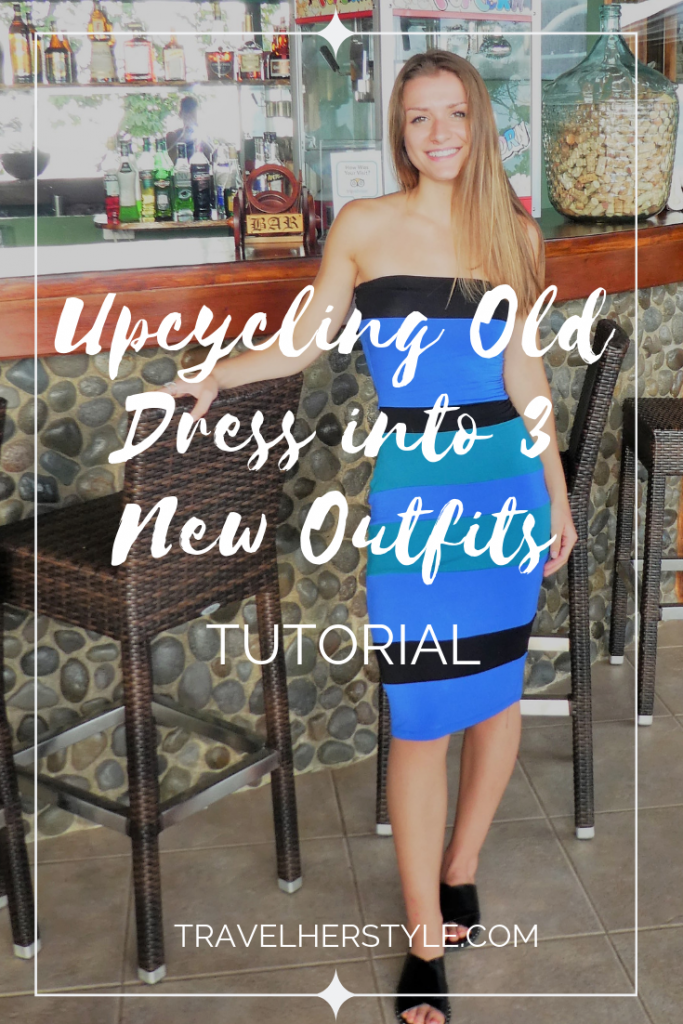
How to: Upcycling One Old Dress Into 3 New Outfits
Have you ever tried or considered trying upcycling clothes before? If so, this post is for you! Hopefully it’ll inspire you to try an upcycling project of your own.
Upcycling clothes is one of my favorite ways to make new designs.
Why?
You can spend little to no money and still create something exciting and new. All you have to do is dig through your closet or hit up your local thrift store. Upcycling clothes is also environmentally-friendly and just plain fun. And, the possibilities are seriously endless!
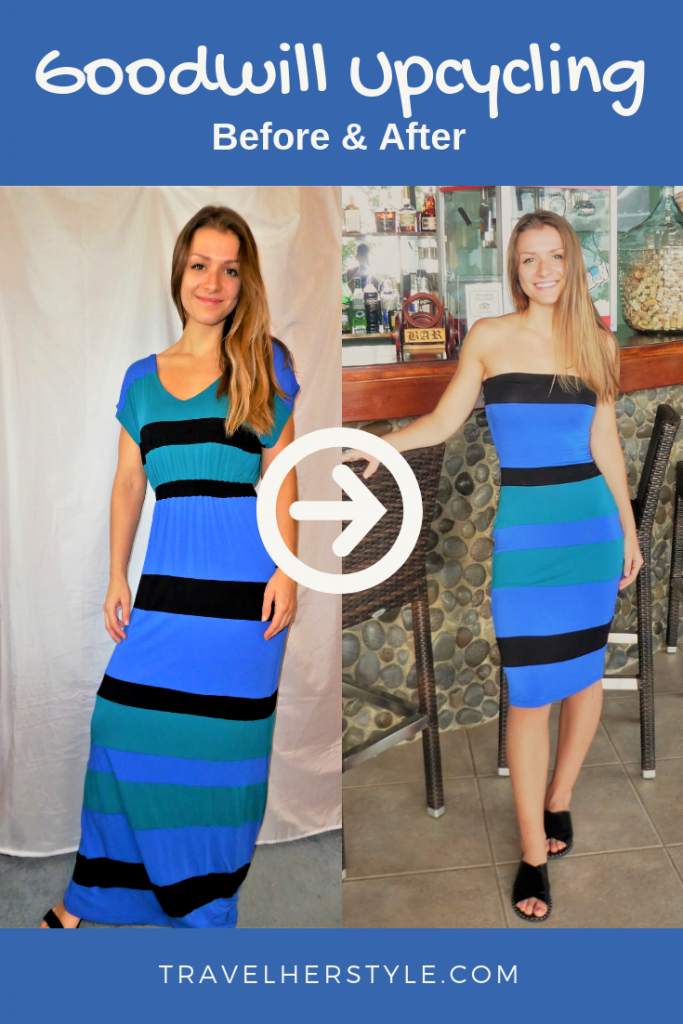
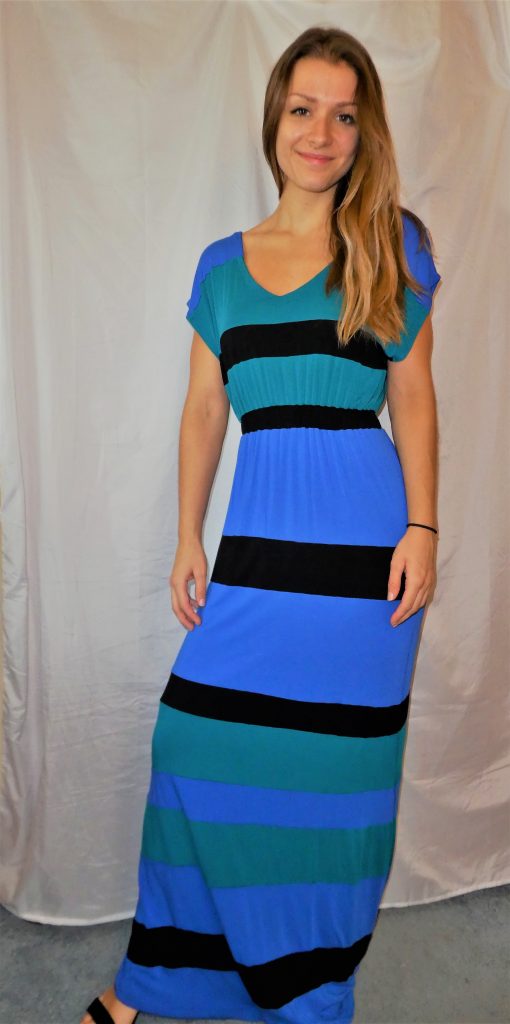
To inspire you to do some upcycling yourself, I’m going to show you exactly how I turned this one old dress of mine into three new outfits. Yep, you read that right! I turned this old maxi dress into…
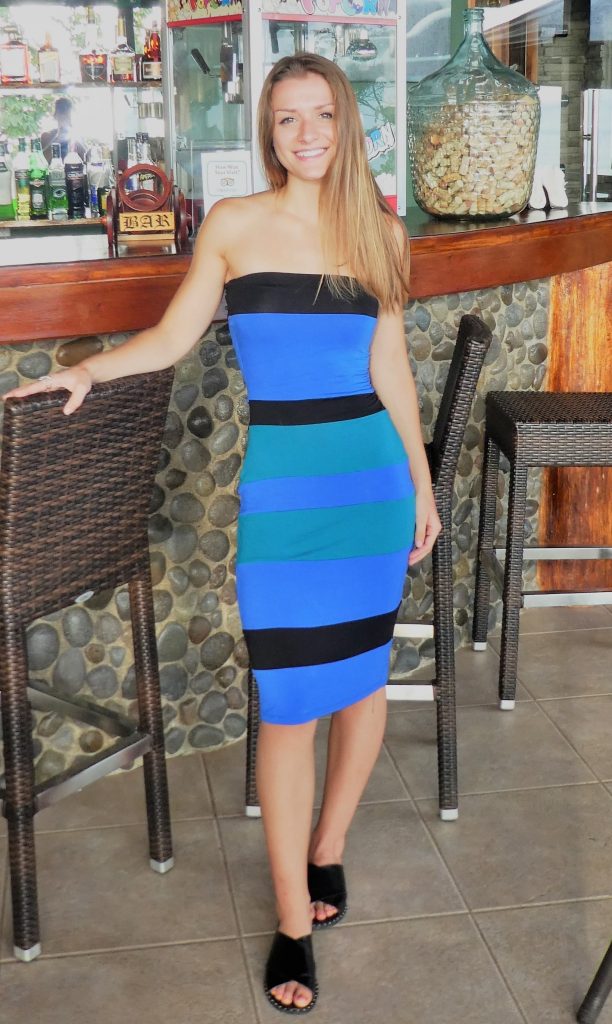
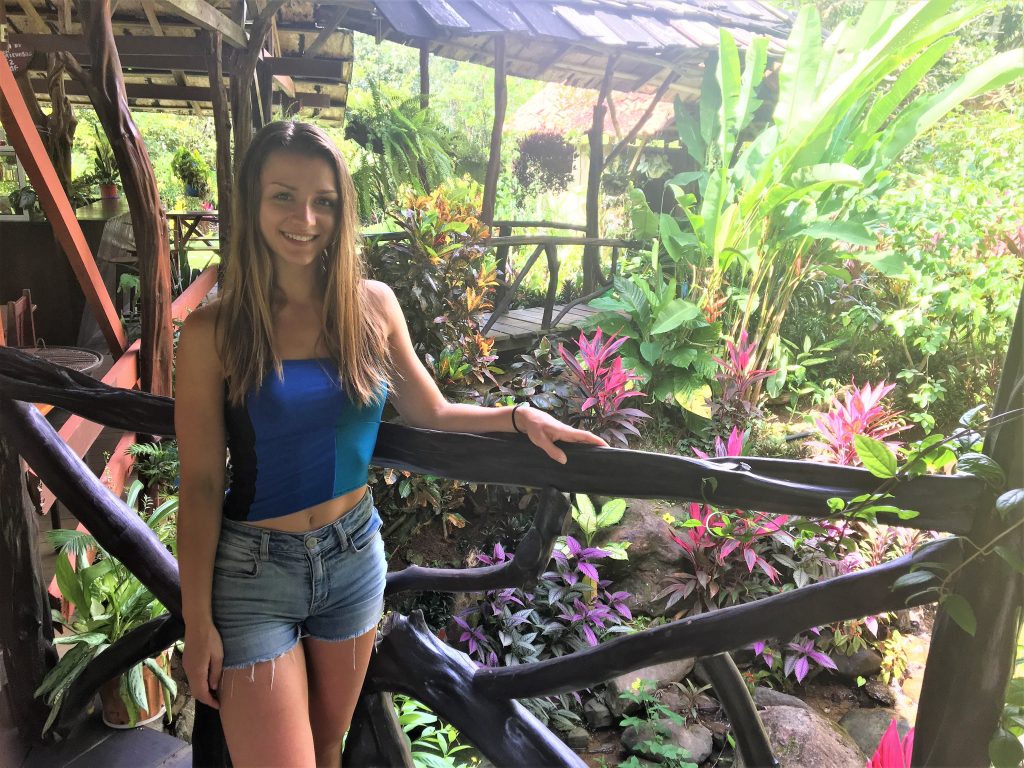
- A bodycon dress
- An asymmetrical strapless tube top
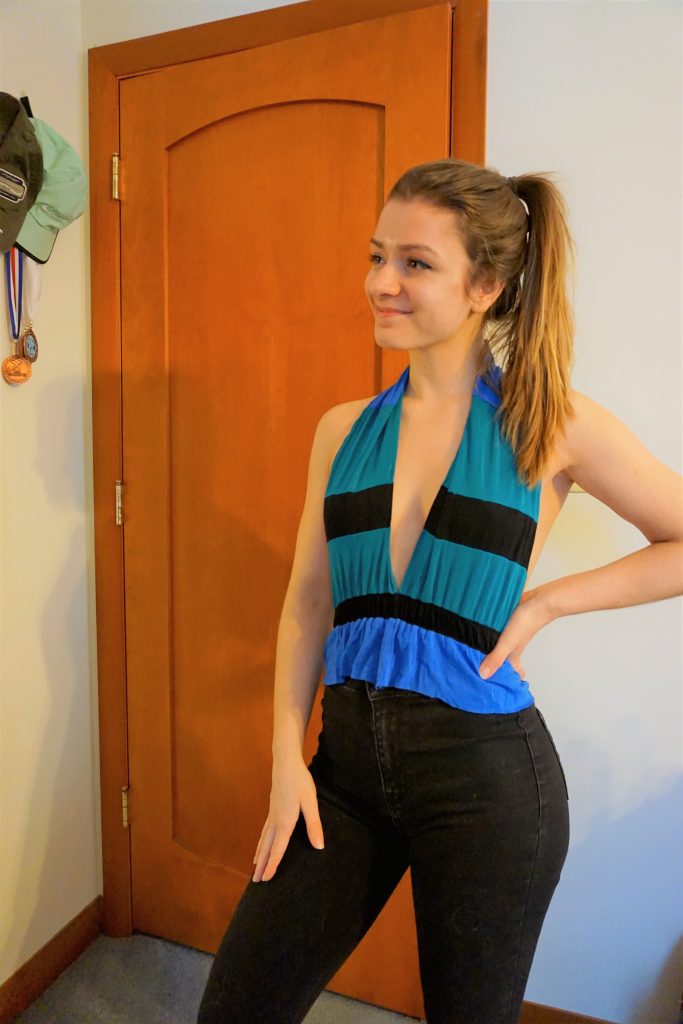
- A plunging tank top
In the grand scheme of things, all three of these designs were pretty easy to make. At the time, my sewing skills were limited (I’m talking nothing but a high school sewing class or two). Despite my lack of knowledge and experience, I was able to make three new wearable designs. And you can too!
Here’s how I go about upcycling clothes Step-by-Step:
Step 1) Try it on
This tip may seem obvious to you, but here’s what I recommend doing when you try your garment on.
When upcycling clothes, it can be hard to know where to begin. That’s why I always try on the garment and play around with it while standing in front of a mirror. How would it look if I rolled up the sleeves? If I cut off the bottom? If I flipped it upside down?
That last one probably wouldn’t work too well, but you get the idea. Try rolling up the sleeves or cinching the waist…whatever you can think of! This will get the ideas flowing and will help you to envision what the finished product(s) could be.
Step 2) Sketch it out
Step 3) Chop it up and start sewing!
Considering you’re using a garment that you were probably either going to toss out or donate anyway, there’s no better time to experiment with your designing.
If you have an idea, chop it up and try it out! If you mess it up, turn it into something new or toss it. The stakes really aren’t too high
If you’re still not share how to go about making something of your own, keep reading to find out how I made the 3 upcycled clothing items you saw above. That’ll show you just easy this can be!
View this post on InstagramA post shared by Emily Stübing (@emilystuebing) on
Wondering how I Made these 3 upcycled clothing items?
They were all honestly super simple. At the time, I didn’t have much sewing experience at all.
Somehow, I still managed to make three items that I still wear all the time! (Whenever it’s possible, that is. I’m based in Chicago and we’re not exactly known for warm weather).
Here’s how I did it, starting with the bodycon dress:
1) Cut out material
Earlier I mentioned that this dress is just the bottom of the maxi dress. So, I made a note of which stripe should end up becoming the top of my dress. Then I cut a few inches above that stripe.
2) Sew according to body shape
Next, I tried on what would become my dress inside out. That way, I was able to pin exactly where I wanted to sew, take it back off, and get right to sewing!
Important note: This fabric was super stretchy and to keep it that way, I had to make sure to use the right thread. My suggestion is to use a 100% polyester thread or an eloflex thread if you’re sewing stretchy fabric as well. Click here to see what kind of thread I normally use.
3) Add elastic and sew top into place
Lastly, all I had to do was sew some elastic in place at the top of my dress. That’ll keep it in place and improve its durability over time. To do it, I simply sewed my elastic into place with a zig-zag stitch directly above where I wanted it to sit. Then I just folded it over and sewed it in place again, right along the top of the dress.
And that’s it! Easy peasy!
The process was exactly the same for this asymmetrical tube top I made from the extra fabric in the middle of the maxi dress.

Since the third look–the plunging top–is so different, I’ll explain how I made that one too. It was slightly more complicated to make than the others, but still totally doable.
Here’s how I upcycled the plunging top:
I used the top of my old maxi dress to create the plunging tank top. This is how the process went.
1) Cut off the sleeves
Not much more explanation needed for this one. I knew I wouldn’t needed the sleeves and went ahead and cut them right off.
2) Made a slit from the original v-neck down to the waist band
The next step was to make that plunging neckline. In order to do so, I cut the fabric from the original v-neck all the way down to the waist band. Then I just folded the fabric in until there was a nice straight edge, pinned it into place, and sewed it with a 1/4″ seam allowance.
3) Chopped off the material from the back and sides
Alright, that’s slightly inaccurate. Instead of chopping off the fabric, I painstakingly seam ripped it all from the waistband. I made sure to leave it in tact, to be able to use a strip of it to add a racerback style strip in the back of the top.
To finish off the sides of the front of the top, I again simply folded in the excess fabric and sewed it down.
4) Sewed racerback strip of fabric to straps and waistband
Like I said, I kept the fabric from the back of the dress and sewed a thin strip of fabric together. Then, I sewed the top of the straps to the top of the strip of fabric. Afterwards I attached the bottom of that strip of fabric to the middle of the waistband.
That made for a nice and easy way to finish off the back of the garment.
5) Cut the bottom of the top to the length of my liking and hemmed it
Last but not least, I cut off whatever excess fabric remained at the bottom of the top and just hemmed it!
All in all, this was a pretty easy design to make as well.
I hope you learned something and enjoyed this tutorial! Like I said, upcycling is one of my favorite things to do because it forces you to be creative and come up with something totally original.
In case you need any more convincing, here are two of my favorite things about upcycling that are great reasons to try it out…
The sky is the limit when it comes to upcycling and it’s also good for the environment.
Comment below if you’ve done any upcycling and have any other tips! I’d love to hear about your experience and see what you made.
If you’re into the whole upcycling content and want more inspiration, check out this other dress I made from a $6 Good Will dress! The transformation is pretty crazy.
Good luck designing and see you next time!