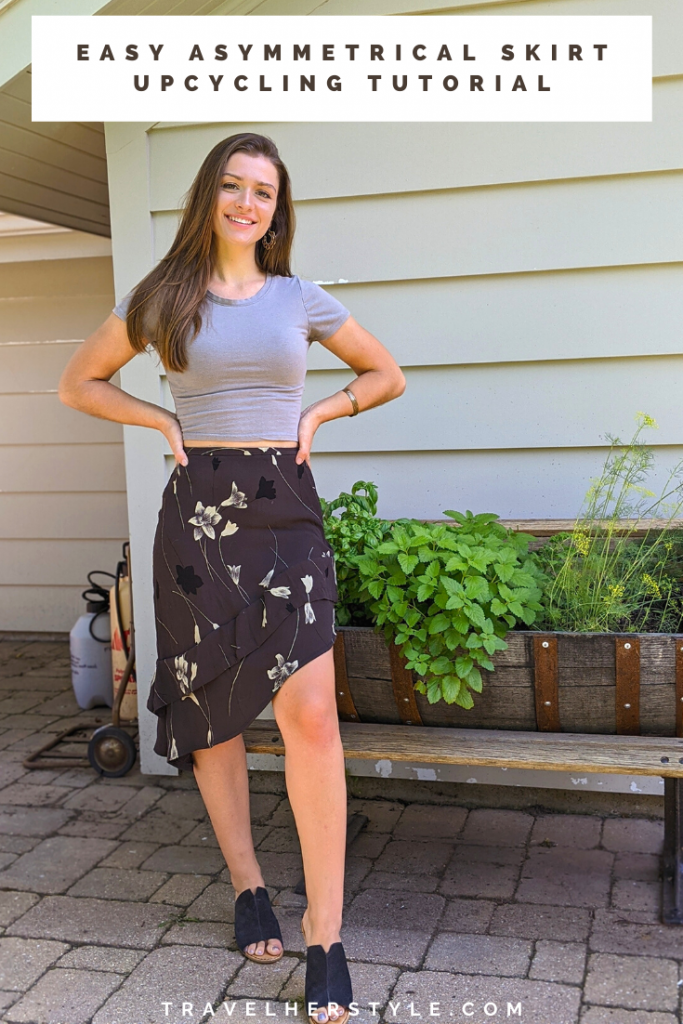
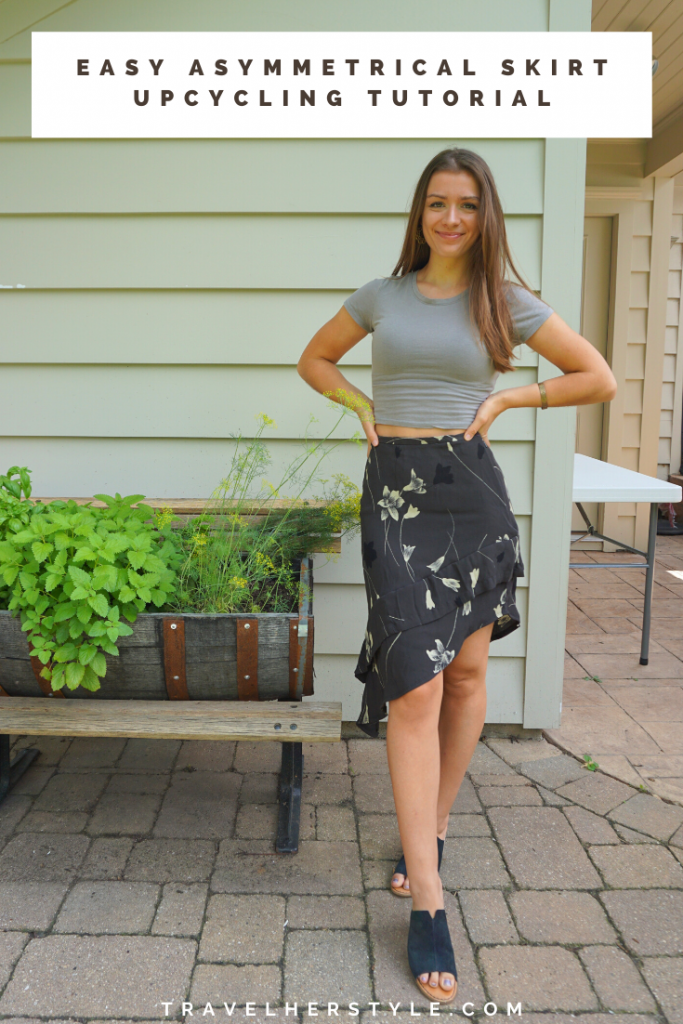
Easy Upcycling Tutorial: How to Make This Asymmetrical Skirt
If you're looking for both a simple sewing project and cute summer skirt, this upcycling tutorial is for you!
Hey guys! So my latest YouTube video is sort of a hodgepodge upcycling tutorial that I wanted to share here too.
Technically there are 4 upcycling projects within this one video, so get ready to start sewing!
All of these projects are super simple, yet fun items you can probably make with clothes you already own. And if not, you can find them at your local thrift store like I did.
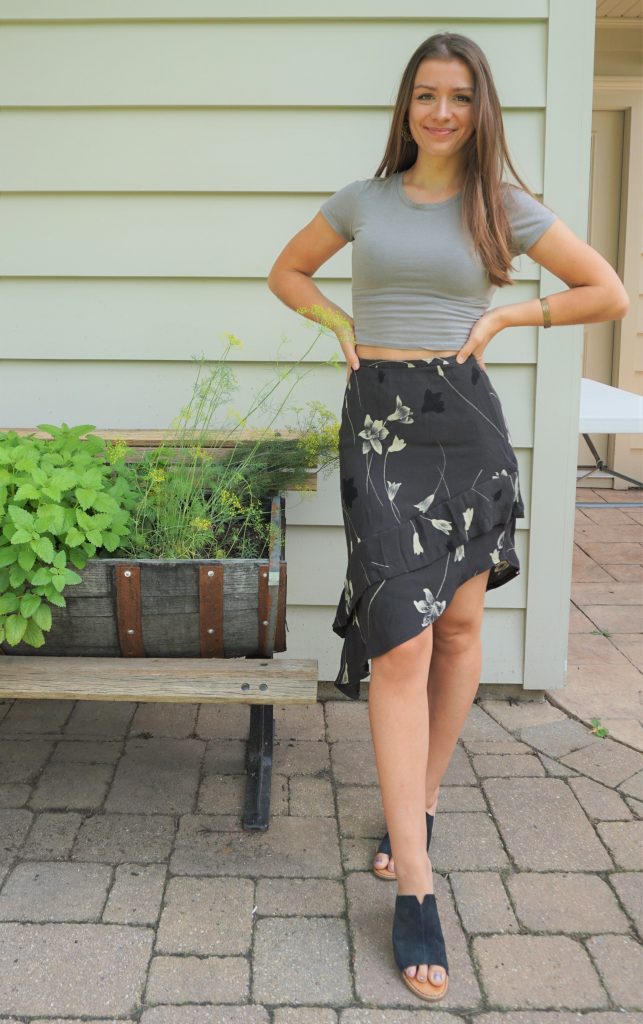
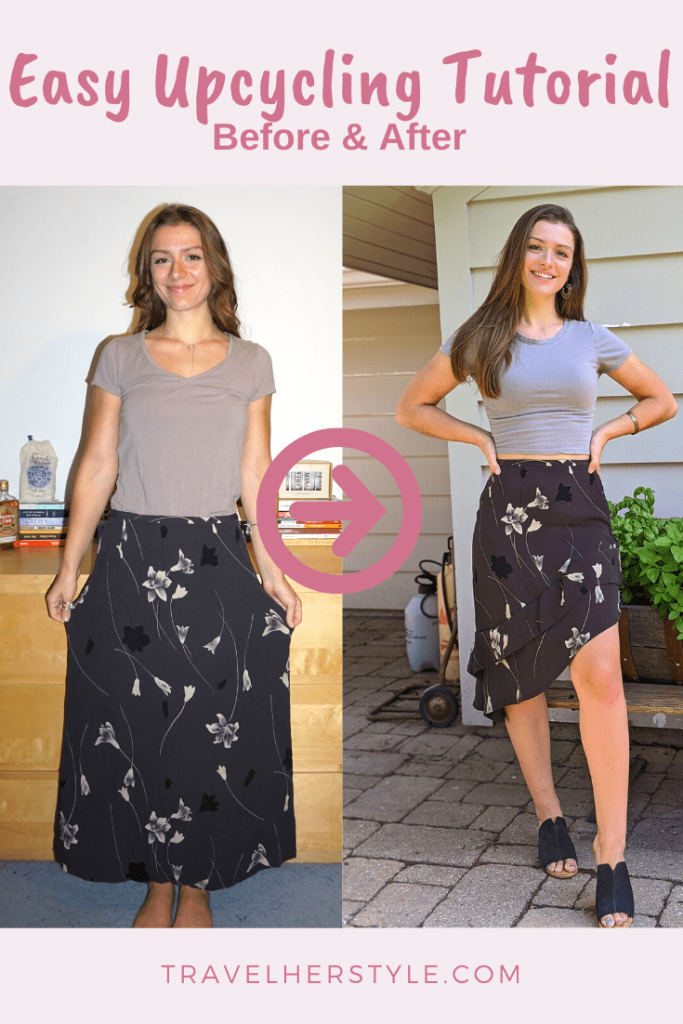
This asymmetrical skirt especially is a such an easy thrift flip, but it looks really nice and is super wearable as well.
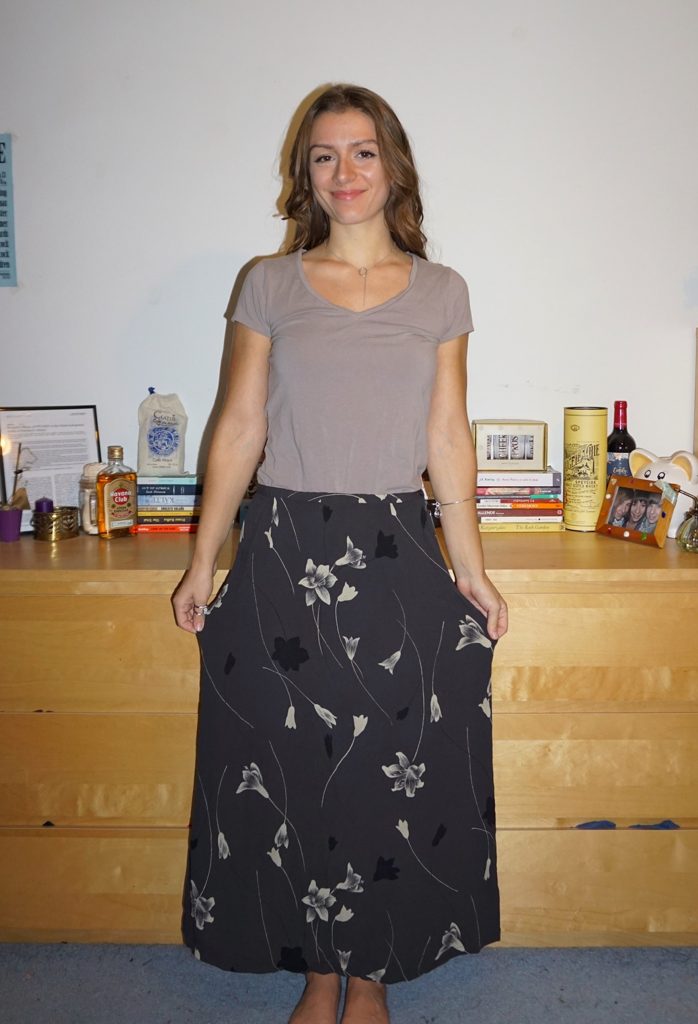
And the best part is that you can do this for free if you have a long skirt lying around or for less than $10 if you go to your local thrift store and find a floor-length skirt to upcycle. This original skirt (pictured below) only cost me $3.99 and took less than two hours to turn into this asymmetrical skirt!
But enough blabbing…let’s get started. 🤗
In this upcycling tutorial, we're turning this...
Into this!
Here's what you'll need:
Materials:
Floor-length skirt, ideally made out of a fairly lightweight fabric (I found mine at Goodwill)
And here's how to make this simple asymmetrical skirt:
If you’re more of a visual person and want to see how I made this, check out the YouTube video below. The tutorial for this skirt starts at 12:30, so feel free to skip ahead to that!
Step-by-step instructions:
For those of you who like written instructions, here’s how you make the skirt step-by-step.
If your skirt is too big, the first step is to take it in. Since my skirt has a zipper on one side, I decided to take it in at the other side. You’ll do this just like you would when taking in anything else.
Cut off the bottom of the skirt at an angle. When doing this, the angle doesn’t really matter, it just depends how you want it to look and what you want the length to be.
So feel free to play around with the length and angle to figure out what you like best!
The one thing to make sure to pay attention to is that you leave enough fabric at the bottom to use for the ruffle layer.
Hem the bottom of your skirt.
Use sewing chalk and a straight edge of some kind (I used my acrylic ruler) to mark where you’ll add the ruffle. This will be super helpful when sewing!
My fabric was pretty slippery and moved around no matter how much I pinned it in place. That’s why it’s helpful to mark a line where you want to sew ahead of time.
Cut excess fabric off of the bottom part of the skirt that you’ll be using for the ruffle. Make sure that the width is as even as possible all the way around, otherwise your ruffle will be uneven or lopsided!
Since the bottom of the skirt was already hemmed, you won’t need to worry about that. What you might need to do, however, is adjust the side seams so that they’re the same width as the skirt is where you’ll sew it in place.
Last but not least, pin the ruffle to your skirt along the chalk line that you marked. Then, just sew it in place.
And that’s all there is to it! I’m telling you, upcycling tutorials really don’t get any easier than this. But despite how simple it is, it’s still an interesting and fun skirt for the summer.
That concludes our asymmetrical skirt upcycling tutorial!
This is a perfect project for beginners, so if that’s you or if you know anyone who’s new to sewing, don’t forget to try this out and send this their way.
I hope you try this or one of the others out and if you do, let me know how it goes! Feel free to leave a comment below or on YouTube, or even send me an Instagram message to tell me how it turns out.